Create XR Scene
Install XR Interaction Toolkit
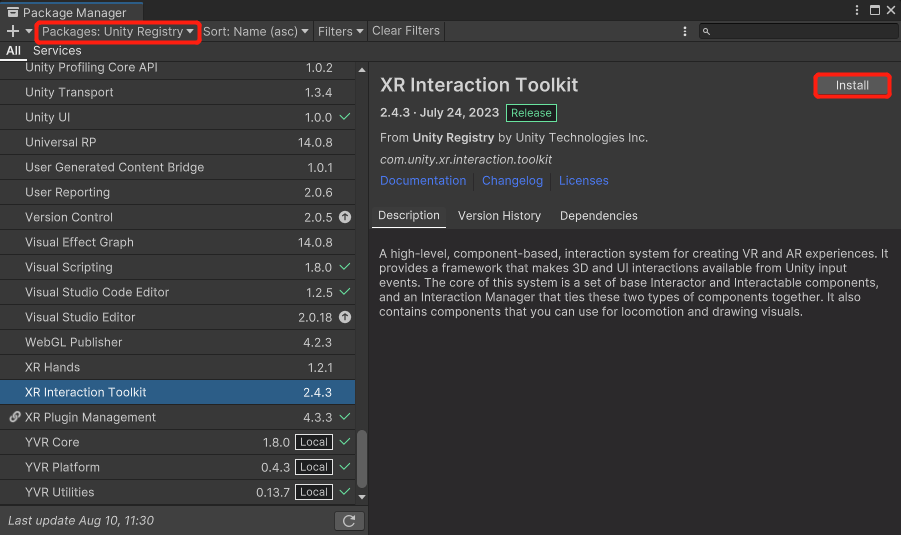
From the menu bar, select Window > Package Manager.
In the Package Manager window, select Unity Registry from the Packages.
Scroll down to select XR Interaction Toolkit, and select Install.
After installation, you will be prompted to restart the Unity Editor. Select Yes.
From the menu bar, select Window > Package Manager > XR Interaction Toolkit > Start Assets. Select Import.
Tip
Although Core SDK does not depend on XR Interaction Toolkit, we recommend you to install XR Interaction Toolkit for a better experience.
Important
Please do this step as it affects the Setup Controller steps.
Add XR Camera
By default, the new project contains a sample scene. Under SampleScene, right-click Main Camera and select Delete to remove the current camera.

Under the Hierarchy panel, select + > XR > XR Origin (VR).
Add
YVRManagercomponent to XR Origin (XR Rig) and ensure thatUse Unity XRflag is turned on.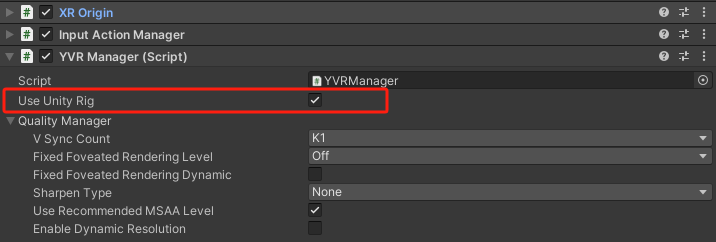
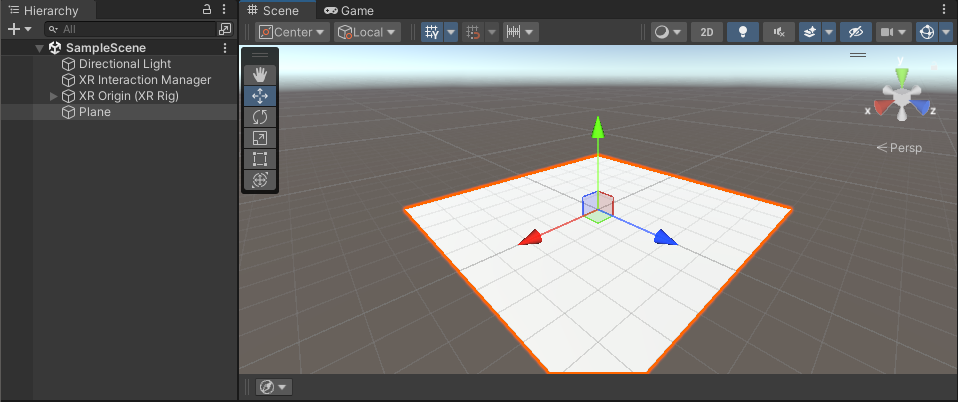
Add 3D Object
Under the Hierarchy panel, select + > 3D > Plane.
A white plane is added to the scene.
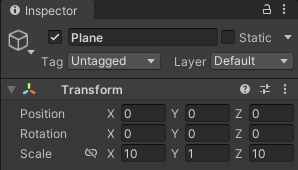
Select Plane under the Hierarchy panel. Under Inspector panel, set Transform Component as the following:
- Position: (0, 0, 0)
- Rotation: (0, 0, 0)
- Scale: (10, 1, 10)
Setup Controller
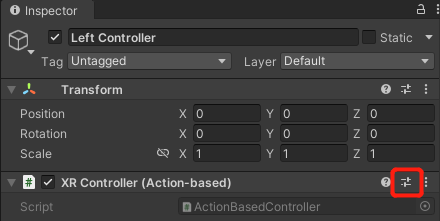
Under the Hierarchy panel, expand XR Origin (XR Rig) > Camera Offset, select Left Controller.
Under the Inspector panel, select XR Controller (Action-based) script > Preset.
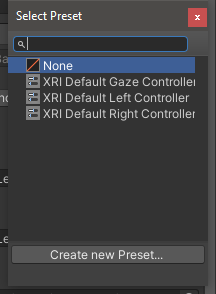
In the Select Preset window, select XRI Default Left Controller.
Under the Project panel, select Packages > YVR Core > Prefabs. Drag TouchController_Left.prefab to Model Prefab.
Repeat the above steps for Right Controller.
Under the Hierarchy panel, select XR Origin (XR Rig).
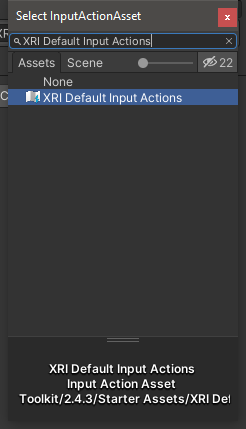
Under Input Action Manager script, expand Action Assets and select +.
Search XRI Default Input Actions and add to Element 0.